Animate a Landscape
Locked wide shot. Wind moves the meadow in slow waves while the low clouds drift left. Keep the mountain silhouette fixed. Finish with the same framing as the opening.
16:9
 EverygenAIImage to VideoSign In
Turn a photo or illustration into a 3–15 second video. Upload the opening frame, describe the action or camera movement, and add an optional end frame to guide the ending.
Loading Studio projects…
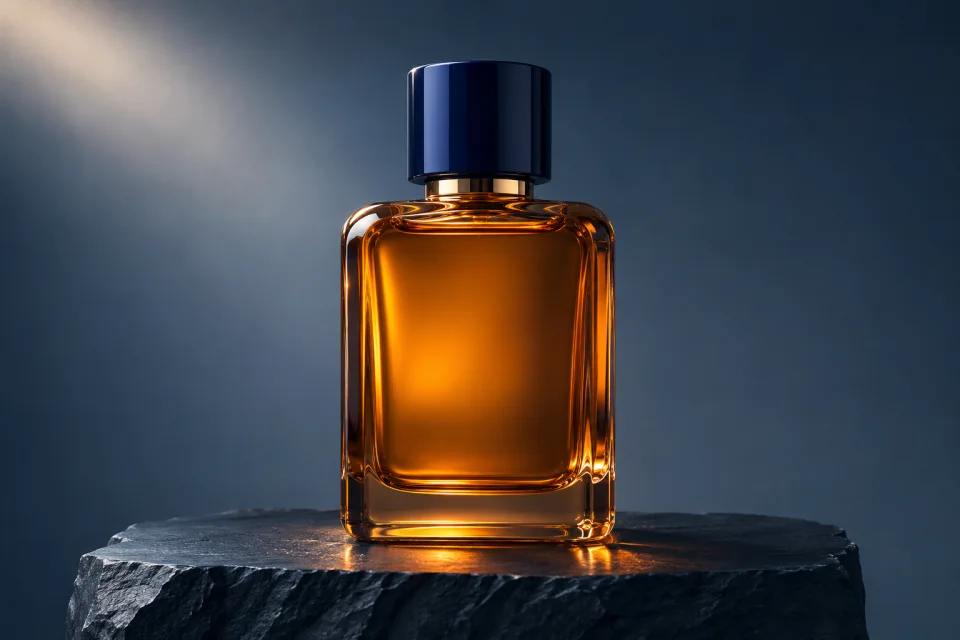
A slow push toward a lit product.
Pick a sharp image with the subject clearly separated from the background. Upload the photo or enter its HTTPS link under Frames. Leave room where the subject or camera will move. To guide the closing composition, add an end frame with a similar crop.
Say what happens, how the camera moves, and what stays still. “The camera slowly moves toward the cabin as the trees sway” gives the model a specific action to follow.
The tool supports 3–15 second clips at 540p, 768p, or 1080p. Try 9:16 for vertical video, 16:9 for widescreen, or 1:1 for square. Use a similar crop for the first and end frames.
Compare the opening, middle, and last frames. If the composition drifts, try a shorter shot or reduce the number of moving elements. Open the result link to save the clip you want to use.
Locked wide shot. Wind moves the meadow in slow waves while the low clouds drift left. Keep the mountain silhouette fixed. Finish with the same framing as the opening.
Slow push toward the lit window. Let the paper lantern sway slightly. Preserve the painted textures, ink outlines, and original color palette.
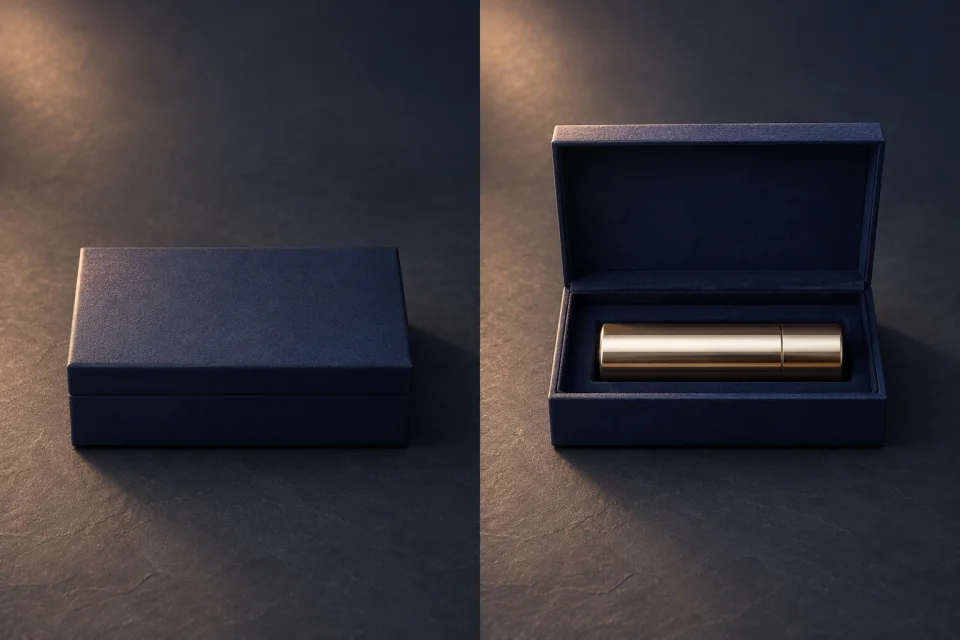
Photograph the closed box and the open box with the same camera position, crop, and lighting. Keep the box on the same spot on the table. Use the closed photo as the first frame and the open photo as the end frame. Start with a five-second test.
Locked camera. The lid opens gently on its hinge to reveal the item already visible in the end frame. The box base and background stay still. Hold on the open box at the end.
Check the middle of the clip for an extra lid or changes to the box shape. If the transition jumps, align the sides of the box more closely between the photos and keep the camera still in the prompt. For a packaging close-up or vertical ad, see the product photo to video workflow.